Why Proper Cleaning Matters for Nonstick Pans
A high quality nonstick pan is a kitchen workhorse, perfect for cooking delicate eggs, pancakes, and fish without sticking. The magic lies in its coating, typically made of polytetrafluoroethylene (PTFE), often known by the brand name Teflon, or a ceramic-based sol-gel coating. This surface is engineered for food release, but it is not indestructible. Aggressive cleaning is the fastest way to destroy it.
Using abrasive sponges, harsh detergents, or metal utensils can create microscopic scratches in the coating. Over time, these scratches compromise the pan's nonstick properties. Food begins to stick, cleanup becomes a chore, and eventually, the coating may start to flake off. Proper cleaning isn't about scrubbing harder. A warped pan will not sit flat on your cooktop, leading to uneven heating and poor cooking results. Gentle, consistent care is the foundation of a long-lasting nonstick skillet.
Tools and Materials You Will Need
You do not need specialized equipment to clean nonstick cookware. The most important factor is choosing soft, non-abrasive materials. Gather these items before you begin:
- Soft Sponge or Dishcloth: A sponge with a non-scratch scrub side or a simple microfiber cloth is ideal.
- Mild Dish Soap: Any standard liquid dish soap will work perfectly. Avoid soaps with harsh chemicals or abrasive additives.
- Baking Soda: A kitchen staple that acts as a gentle abrasive for tough spots.
- White Vinegar (Optional): Useful for tackling stubborn grease buildup.
- Soft Towel: For drying the pan after washing.
What you avoid is just as important. Keep these items far away from your nonstick pots and pans:
- Steel wool
- Abrasive scouring pads (like the green side of many common sponges)
- Harsh chemical cleaners or oven cleaner
- Metal scrapers or utensils
How to Clean Nonstick Pans: The Daily Method
For everyday use, cleaning a nonstick pan should take no more than a few minutes. The key is to clean it soon after it has cooled down, preventing food particles from hardening onto the surface. Follow these simple steps after every meal.
- Let the Pan Cool Completely. This is the most critical first step. Placing a hot pan under cold water can cause thermal shock, which can warp the metal and damage the nonstick coating. Allow it to cool on the stovetop or a trivet for at least 10 to 15 minutes. It should be cool enough to handle comfortably.
- Wipe Out Excess Grease. Use a paper towel to wipe out any remaining oil, grease, or loose food bits. This makes the washing process much easier and cleaner.
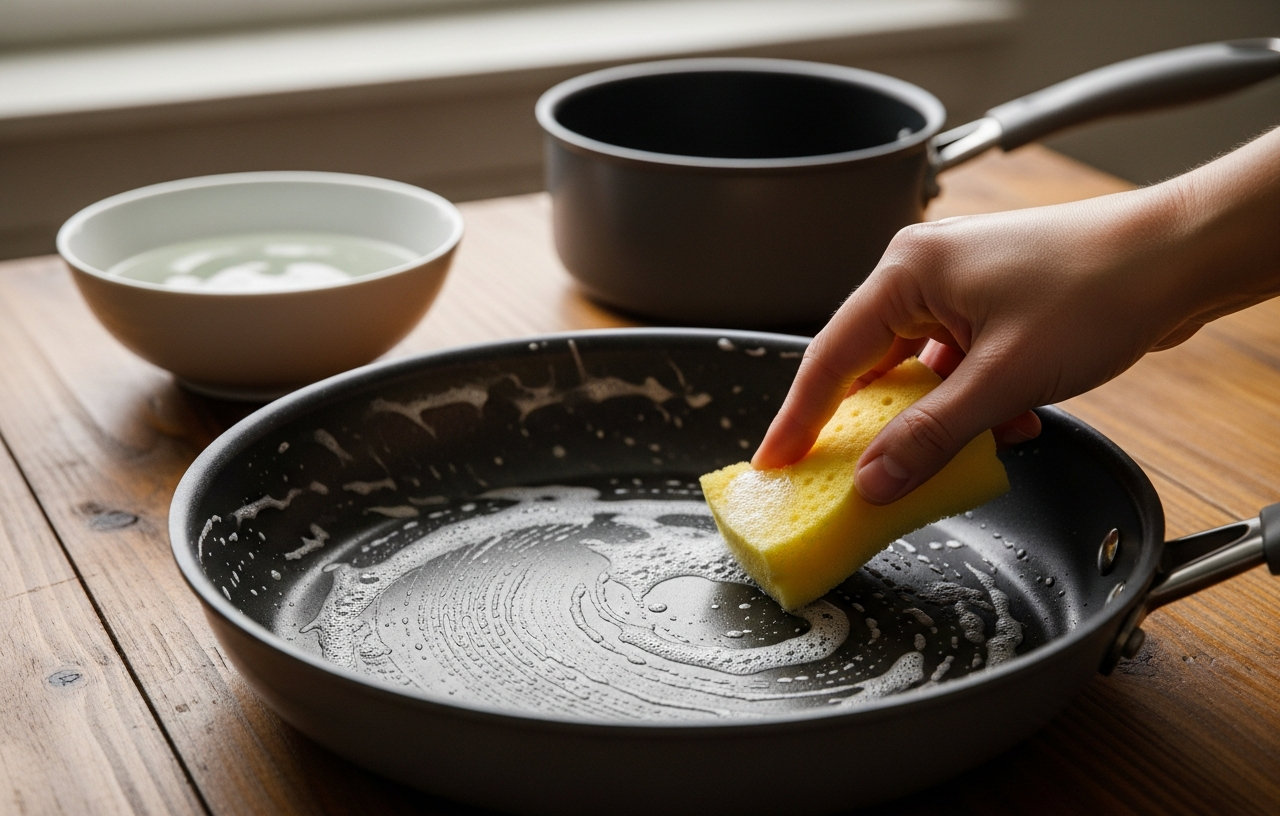
- Wash with Warm, Soapy Water. Add a few drops of mild dish soap to the pan and fill it with warm water. Use a soft sponge or dishcloth to gently wipe the interior surface. Because the surface is nonstick, food should release with minimal effort.
- Rinse Thoroughly. Rinse the pan under warm running water to remove all soap residue. Any leftover soap can heat up and burn during the next use, creating a film that interferes with the nonstick performance.
- Dry Immediately. Use a soft, clean towel to dry the pan completely, both inside and out. Air drying can leave water spots. Storing a dry pan also prevents any potential for rust on exposed metal parts, like handle rivets or an un-coated base.
How to Clean Burnt-On Food from a Nonstick Pan
Even with careful cooking, accidents happen. You might get distracted and scorch a sauce or burn some cheese onto your favorite nonstick skillet. Do not reach for a scouring pad. A little patience and a gentle approach will restore the surface without causing damage. There are two effective methods.
Method 1: The Simmering Technique
This method is best for freshly burnt-on food that covers a large area of the pan.
- Fill the Pan with Water. After the pan has cooled, pour in enough water to cover the burnt-on areas completely. You only need about an inch of water.
- Add Dish Soap. Squirt a few drops of mild dish soap into the water.
- Gently Heat the Water. Place the pan back on the stove over low to medium heat. Bring the water to a gentle simmer. Do not let it come to a rolling boil.
- Simmer for 5-10 Minutes. Let the hot, soapy water work on the burnt-on food. You should see the particles begin to lift and float in the water.
- Cool and Clean. Carefully remove the pan from the heat and let the water cool down. Once it is safe to handle, pour out the water and wash the pan as you normally would with a soft sponge and dish soap. The burnt residue should wipe away easily.
Method 2: The Baking Soda Paste
This technique is excellent for stubborn, concentrated spots of burnt food or a sticky residue that has built up over time.
- Create a Paste. In a small bowl, mix equal parts baking soda and water to form a thick paste. A good starting point is 2 tablespoons of each.
- Apply the Paste. Spread the paste over the burnt or sticky areas of the cooled pan. Make sure the problem spots are completely covered.
- Let it Sit. Allow the paste to sit on the surface for at least 15 minutes. For very stubborn stains, you can leave it for up to 30 minutes. The baking soda will work to break down the carbonized food.
- Scrub Gently. Use a soft sponge or cloth to scrub the area in a circular motion. The baking soda acts as a very fine, gentle abrasive that lifts the grime without scratching the nonstick coating.
- Rinse and Wash. Rinse the pan thoroughly to remove all the baking soda paste. Then, wash it with warm, soapy water to remove any final residue and dry it completely.
Common Mistakes to Avoid When Cleaning Nonstick Cookware
Preserving your nonstick skillet is as much about what you don't do as what you do. Avoiding these common mistakes will significantly extend the life of your cookware.
- Using Cooking Sprays: While it seems logical, aerosol cooking sprays contain emulsifiers and propellants that can build up on the nonstick surface. This buildup doesn't burn off like regular oil and creates a sticky, brownish film that is very difficult to remove and ruins the pan's performance. It is better to use a small amount of cooking oil or butter.
- Putting it in the Dishwasher: Many manufacturers claim their nonstick pans are "dishwasher safe." While a single cycle may not ruin it, the combination of high heat, prolonged water exposure, and harsh detergents will inevitably degrade the coating over time. Always hand wash your nonstick items.
- Using High Heat: Nonstick coatings are not designed for high-heat searing. Excessive heat can cause the coating to break down, release fumes, and lose its nonstick properties. Cook on low to medium heat.
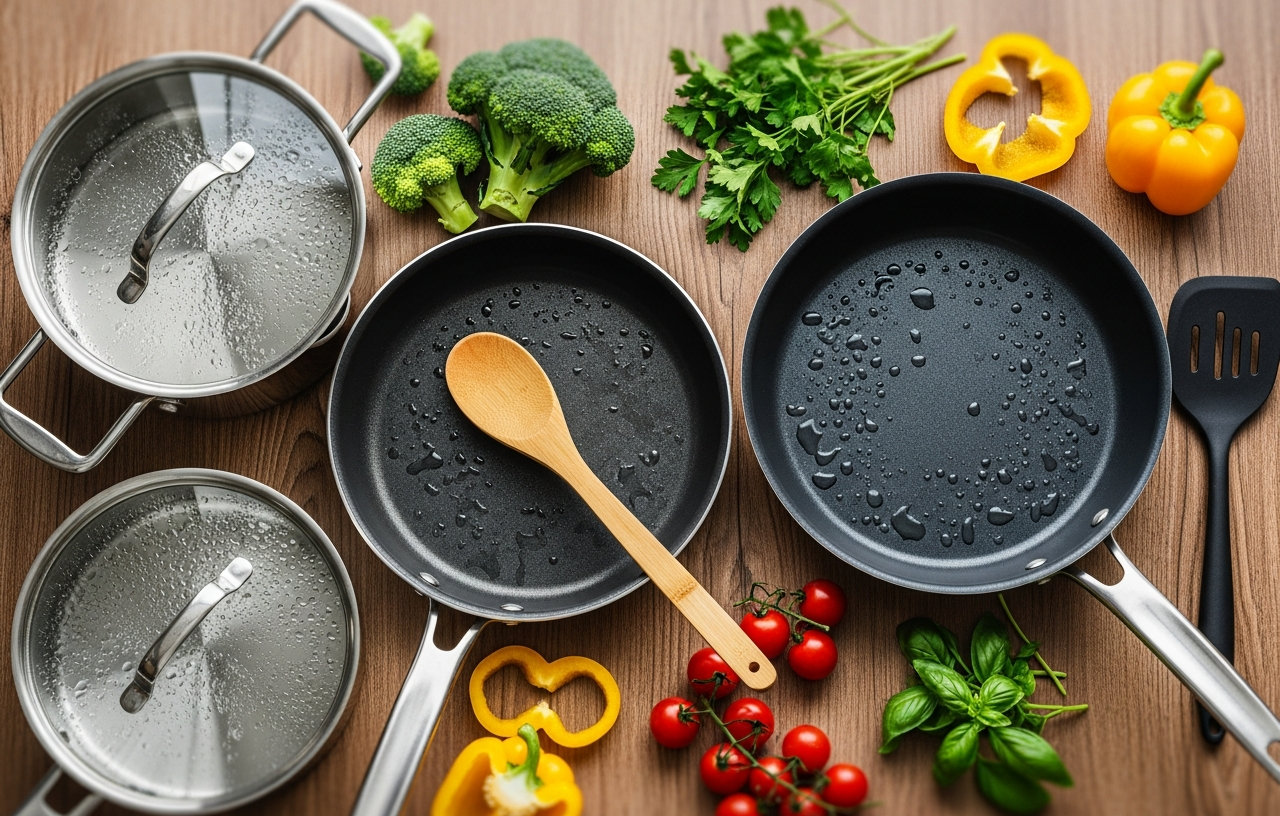
- Using Metal Utensils: This is a primary cause of scratches. Never use metal spatulas, forks, or knives in your nonstick pan. Stick to silicone, nylon, or wooden utensils.
- Stacking Pans Improperly: Stacking other pots and pans directly inside your nonstick skillet can lead to scratches. If you must stack them, place a paper towel, a dish towel, or a dedicated pan protector inside to cushion the surface.
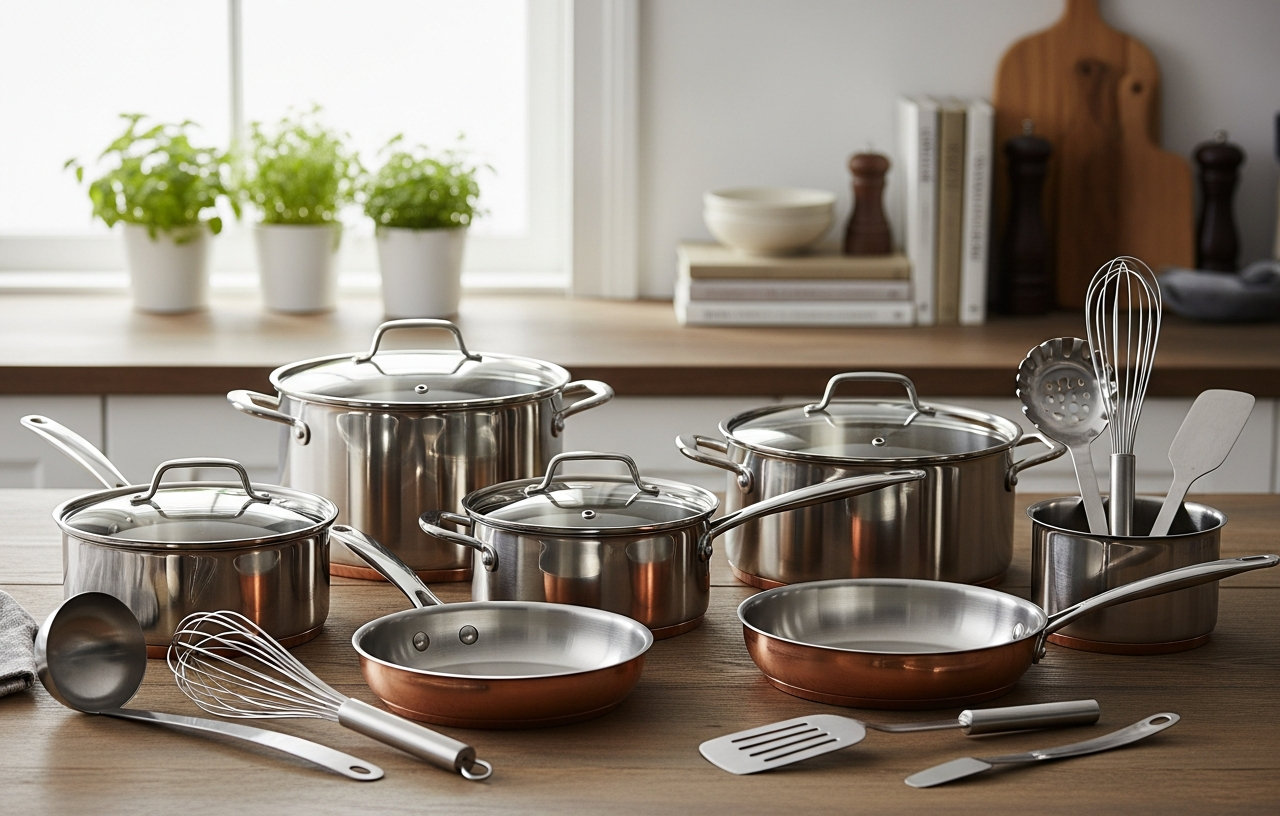
Understanding what to avoid is half the battle. A little care goes a long way in keeping your cookware in top condition. For cooks trying to decide between different cookware types, understanding these maintenance needs is important.
Read more in our comparison: Stainless Steel vs Nonstick Cookware: Which Is Better?
Maintaining Your Nonstick Pans for Longevity
Beyond just cleaning, a few simple habits can help you get the most out of your nonstick investment. Good maintenance starts before you even cook.
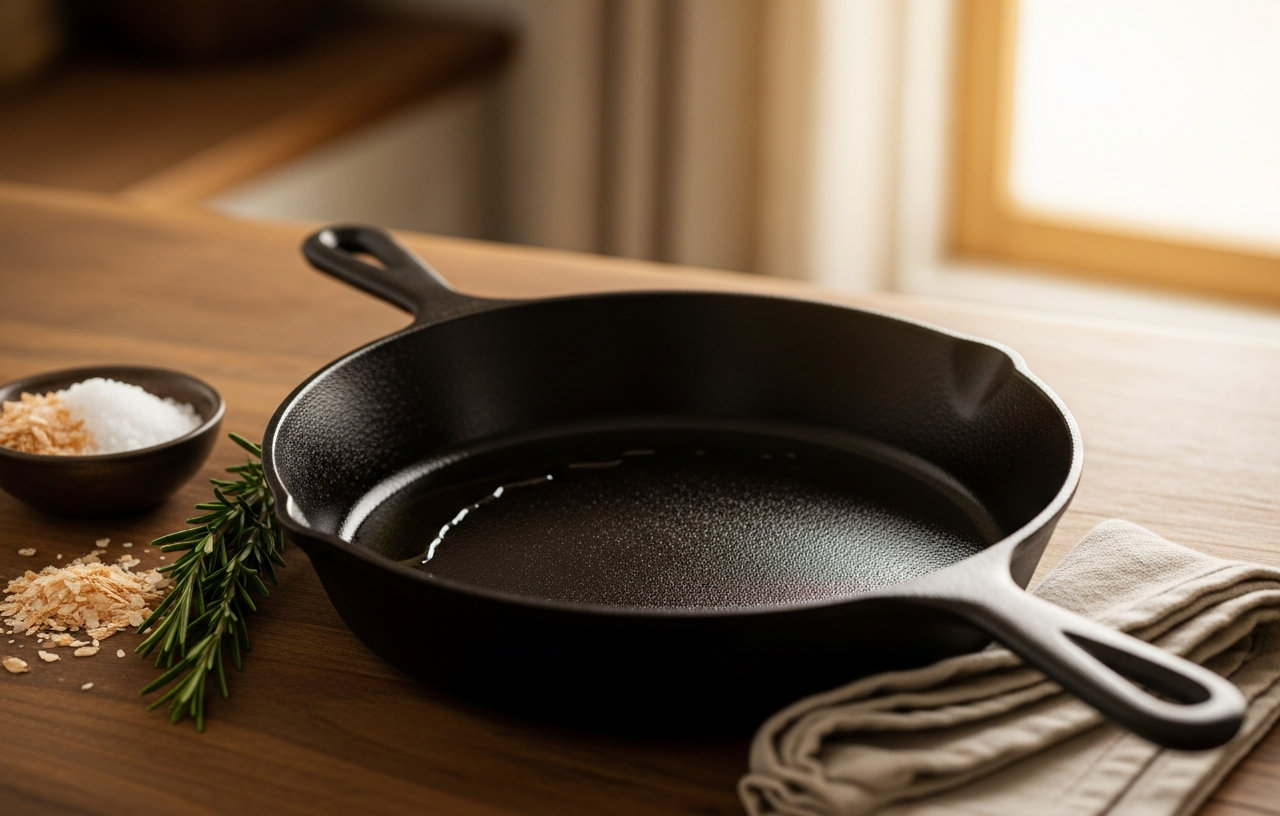
First, consider seasoning your pan when it's new, and periodically thereafter. This is not the same as seasoning cast iron. To season a nonstick pan, wash and dry it thoroughly. Then, use a paper towel to rub a very thin layer of neutral cooking oil (like canola or vegetable oil) over the entire interior surface. Place the pan on medium-low heat for about two minutes. Let it cool completely, then wipe out any excess oil. This process helps fill in any microscopic pores in the surface, enhancing its nonstick capabilities.
Second, always match your pan to the burner size. Using a small pan on a large burner can cause the handle and sides to overheat, potentially damaging them and the coating near the rim. Consistent, even heating is gentler on the entire piece of cookware.
Finally, inspect your pans regularly. If you notice deep scratches that expose the metal underneath, or if the coating has begun to peel or flake, it is time to replace the pan. A compromised surface will not perform well, and there is a risk of the coating particles getting into your food. With proper cleaning and care, a good nonstick pan should last for several years of regular use.
For utensil recommendations that are safe for all cookware types, see our guide on the Best Kitchen Utensil Sets: Heat-Safe Picks for Every Cookware Type.